It’s true that meal prepping can save you time and help you eat better. But how do you keep those meals fresh all week? It’s all about how you store them!
This guide will show you the best tips for using the right containers and controlling the temperature. You’ll learn how to keep your meals fresh, so you won’t have to deal with soggy salads or spoiled leftovers!
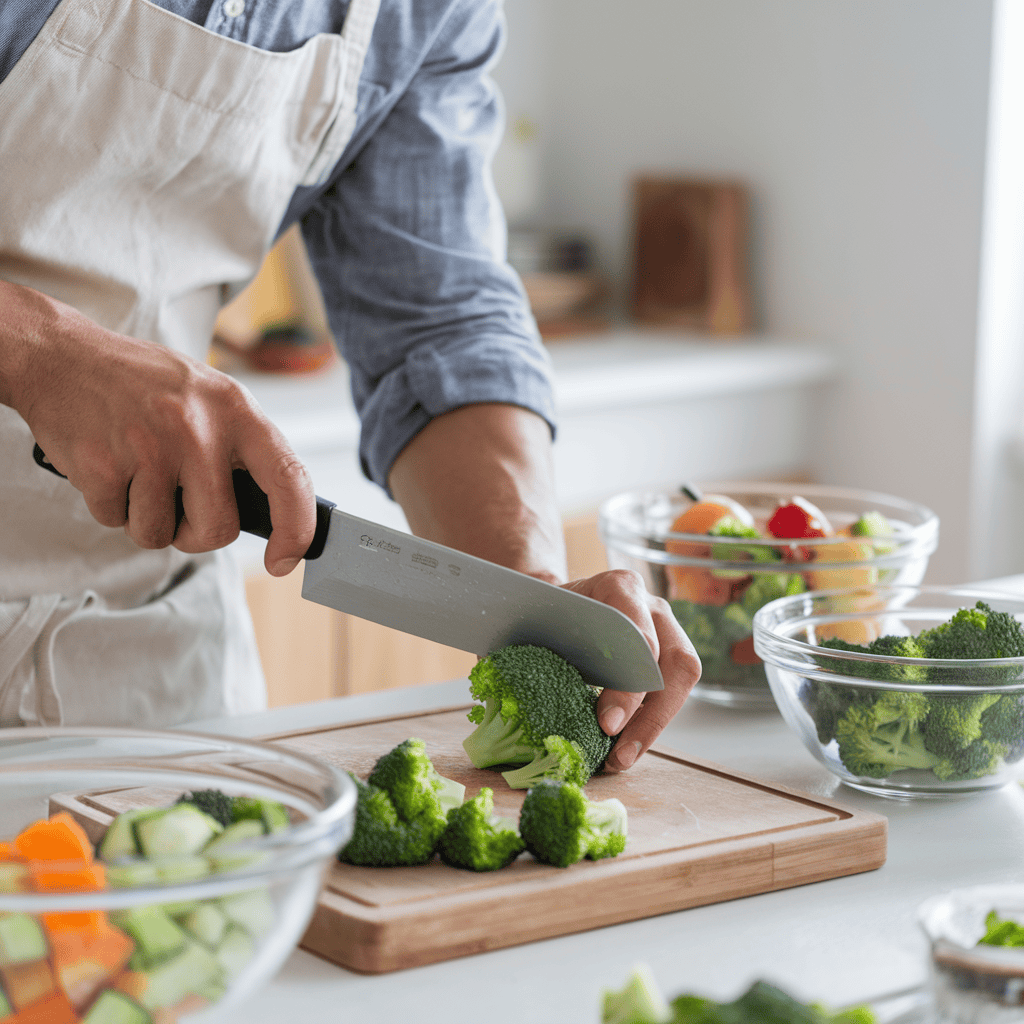
Why Proper Meal Prep Storage Matters
Let’s be honest—nothing is worse than opening your meal prep storage container and finding a soggy mess. All that time and effort in the kitchen? Gone. How you store your meals matters. It helps keep them fresh, tasty, and safe to eat. Good food storage affects flavor, texture, and even your health.
First off, storing your meals right helps stop spoilage. Spoiled food isn’t just ugly, it can make you sick. If your meals aren’t cooled down or kept in airtight containers, bacteria can grow.
If you’re interested in how proper food storage ties into gut health, check out Boost Your Knowledge of Gut Health Foods with These Healthy Meal Prep Tips for a Plant-Based Diet. Eating gut-friendly, plant-based foods and storing them correctly can maximize their benefits.
Also, bad storage can make your food soggy. Ever mix dressing into a salad before storing it? Mistake! The lettuce wilts, the croutons get mushy, and your “fresh” meal isn’t so fresh anymore. Cooked foods like rice and pasta can dry out or clump together if not stored right.
Good storage also saves you money and cuts down on food waste. If your meals last longer, you’re less likely to throw them away. Plus, you can batch cook without worrying that you’ll toss half of it later. I’ve saved a lot by getting better storage containers and learning how to portion my meals.
In the end, good meal prep storage is about making meals you actually want to eat. If your food tastes bland or old, you’ll probably go for takeout instead. And that defeats the whole purpose, right?
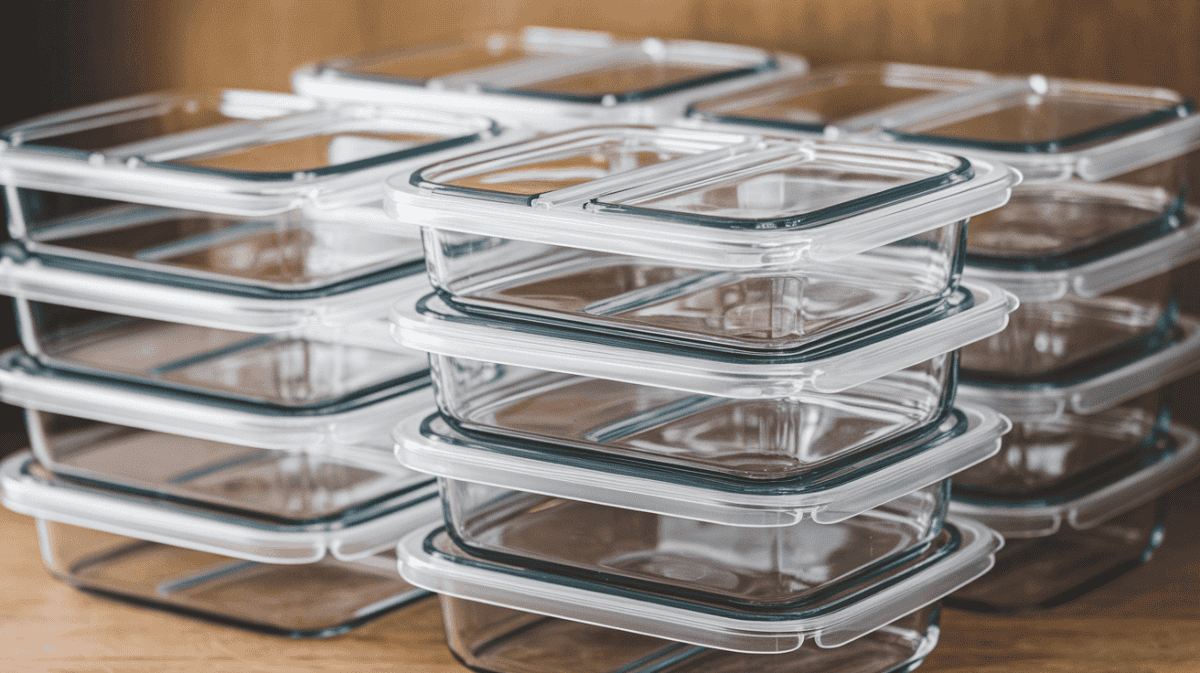
Pick the Right Storage Containers
Choosing the right container can change how you prep your meals. I used to think all containers were the same—until I dealt with leaky lids and warped plastic. That’s when I learned: not all containers are created equal.
If you’re thinking about glass versus plastic, I say go for glass. It’s tough, doesn’t hold smells, and won’t warp in the microwave. Plus, it looks nicer in the fridge. And yes, how things look matters! But if you’re busy or packing meals for kids, plastic is lighter and less likely to break. Just make sure it’s BPA-free. We don’t want chemicals in our food.
Airtight containers are a must if you want to keep your meals fresh. Whether you have leftover curry or roasted veggies, an airtight seal keeps moisture and flavor in while keeping air out. If you’re wondering which meal prep tools make a real difference, check out 10 Essential Meal Prep Tools for Success. Investing in the right tools can make your meal prep routine easier, more efficient, and even extend the shelf life of your meals!
And don’t forget about leak-proof designs. I once packed soup in a container that claimed to be leak-proof, but I ended up with broth all over my bag. Spend a little more for containers with strong seals. It’s worth it.
If you’re prepping multiple dishes, compartmentalized containers are super helpful. They keep wet and dry ingredients apart. You can put pasta in one section and the sauce in another, or rice and curry side by side without mixing. This keeps your meals organized and makes portion control easy.
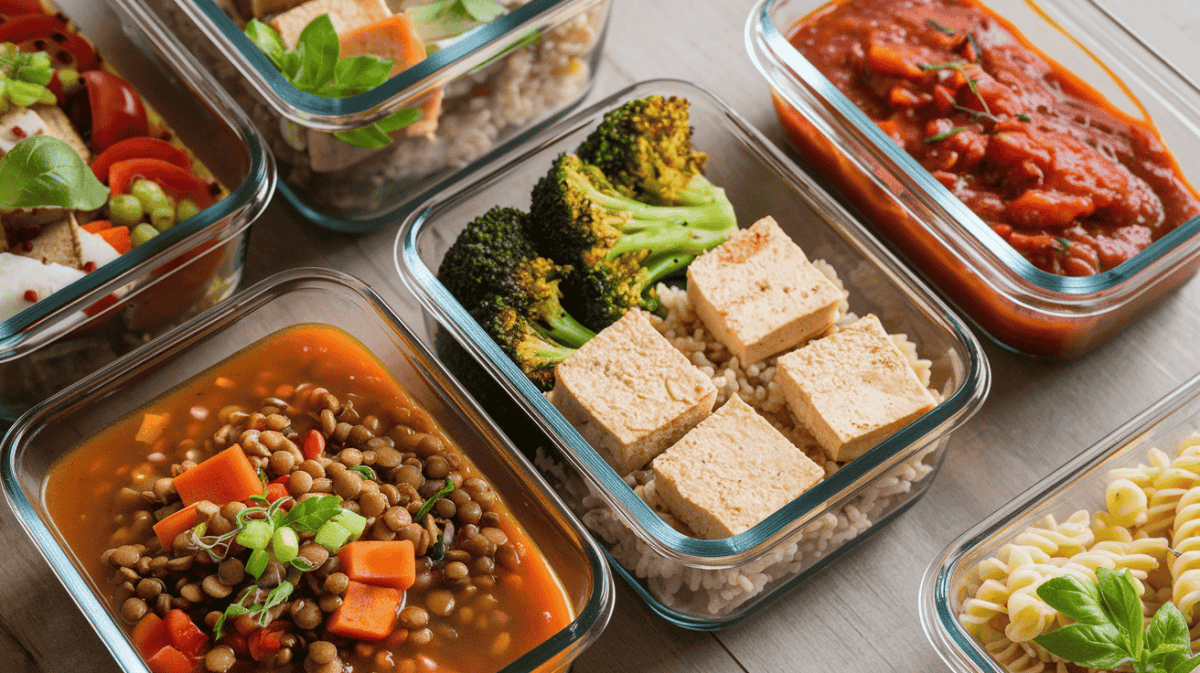
Master Meal Portioning and Packing
Meal prepping is about more than just what you pack. It’s also about how you pack it. If you portion your meals right, they’ll stay fresh longer.
I used to put everything in one big container. I’d just scoop out what I needed. But every time I opened it, air got in, and the food spoiled quicker. Now, I use separate containers for each portion. It keeps everything fresher. Plus, it’s easier to grab when I’m in a hurry.
Here’s a packing tip that’s helped me a lot: keep wet and dry ingredients apart until you eat. This is especially true for salads. No one likes soggy lettuce, right? It’s also important for things like stir-fries. You don’t want your food to get mushy.
Use small containers for dressings and sauces. You can also layer your ingredients—put wet stuff like tomatoes on the bottom and dry things like nuts or croutons on top. I use mason jars for salads and this stacking approach works pretty well.
If you want to store meals for a long time, think about getting a vacuum sealer. It sounds fancy, but it’s usually not too pricey. It really helps keep food fresh. I use mine for everything, from marinated tofu to frozen veggies. The vacuum seal takes out all the air. This way, your food lasts way longer than in regular containers.
Here is a chart that shows how long the most common plant-based foods stay fresh:
| Food Item | Fridge (at 3–4°C / 37–40°F) | Freezer (at -18°C / 0°F) |
|---|---|---|
| Brown Rice (cooked) | 5 days | 3 months |
| White Rice (cooked) | 5–6 days | 6 months |
| Quinoa (cooked) | 5 days | 6 months |
| Lentils (cooked) | 5 days | 3 months |
| Chickpeas (homemade, drained, no liquid) | 4–5 days | 3 months |
| Black Beans (homemade, drained, no liquid) | 4–5 days | 3 months |
| Canned Beans (opened, in liquid) | 3–4 days | Not recommended |
| Canned Beans (opened, drained & rinsed) | 4–5 days | 3 months |
| Tofu (cooked) | 4–5 days | 2 months |
| Tempeh (cooked) | 5 days | 3 months |
| Seitan (cooked) | 6 days | 4 months |
| Roasted Vegetables | 4 days | 2 months |
| Steamed Broccoli, Cauliflower, or Carrots | 4 days | 3 months |
| Fresh Leafy Greens (washed & dried) | 5 days | Not recommended |
| Salads (no dressing added) | 3 days | Not recommended |
| Dressing (oil-based) | 2 weeks | 3 months |
| Hummus | 5 days | 3 months |
| Nut-Based Cheese | 7 days | 3 months |
| Overnight Oats | 3–4 days | Not Recommended |
| Chia Pudding | 5 days | 3 months |
| Cooked Pasta (whole grain or legume-based) | 4 days | 2 months |
| Homemade Soup (vegetable-based) | 5 days | 3 months |
| Homemade Soup (with plant-based milk) | 3 days | 1 months |
| Energy Balls/Bars (homemade) | 7 days | 3 months |
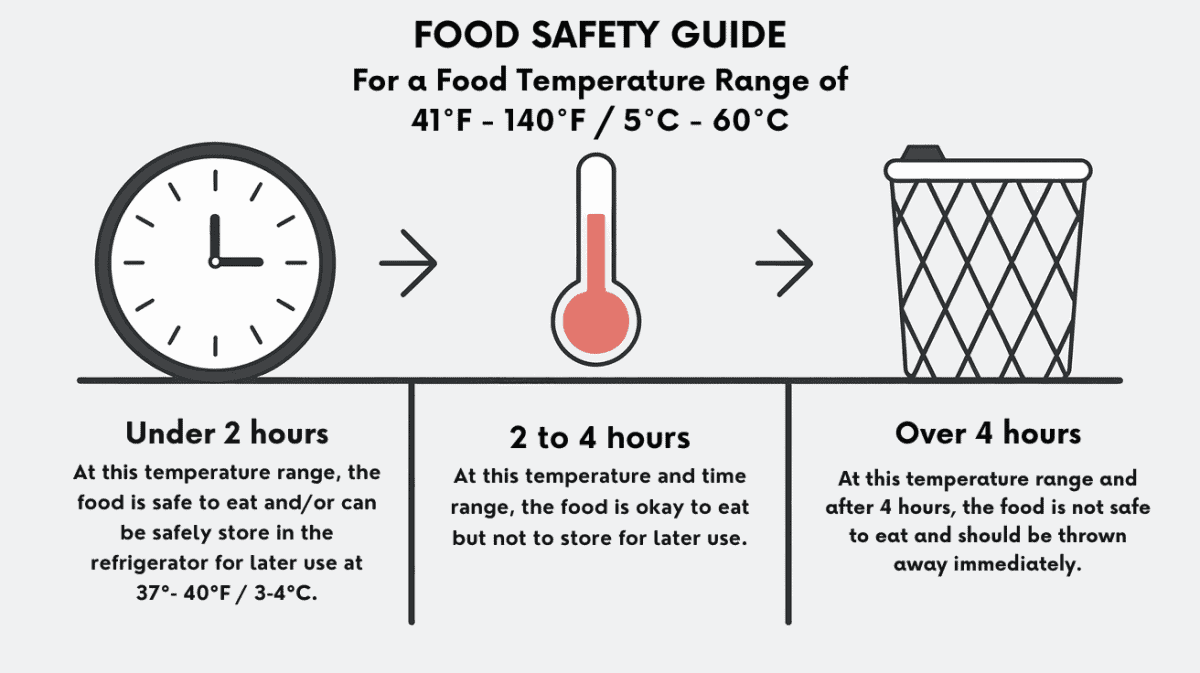
Proper Temperature Control Equals Fresh Food
Proper temperature control is essential for keeping meals fresh and can make a big difference in how your meals turn out. How you cool and store your food impacts both freshness and safety.
First, don’t leave cooked food out too long. I learned this the hard way. Letting food cool completely on the counter isn’t safe as bacteria grows quickly at room temperature. Instead, put your meals in shallow containers and refrigerate them within two hours.
The fridge is good for meals you’ll eat in a few days. But for long-term storage, the freezer is the way to go. Keep your fridge at 37–40°F (3–4°C) and your freezer at 0°F (-18°C). These temps help keep your food safe and fresh.
I recently started flash-freezing some foods. For example, I freeze cooked tofu portions on a baking sheet before putting them in a freezer bag. This keeps them from sticking together and makes it easy to grab just what I need.
Finally, remember to cool your meals before sealing them up. I’ve made the mistake of packing hot food right into containers. The steam made everything soggy. Let your meals cool for 10–15 minutes before putting them away. This keeps your food fresh and tasty.
Tips for Storing Specific Types of Food
Vegetables: The Best Way to Keep Them Crisp and Fresh
Vegetables can be tricky because some stay crisp in the fridge, while others turn into a soggy mess if stored incorrectly. The key is moisture control—too much moisture causes rot, and too little leads to wilting.
- Leafy greens (like spinach, lettuce, and kale) should be washed, dried completely, and stored in an airtight container with a paper towel to absorb excess moisture. If possible, keep them in a produce drawer where humidity can be controlled.
- Carrots, celery, and radishes last longer when stored in a jar of water in the fridge. This keeps them crisp and prevents drying out.
- Bell peppers, cucumbers, and zucchini should be stored unwashed in a breathable bag or produce drawer. If pre-cut, store them in an airtight container with a dry paper towel.
- Broccoli will stay fresh longer if wrapped in a damp paper towel and stored in a ventilated bag.
- Cauliflower should be kept dry and stored in a loose, perforated plastic or produce bag in the crisper drawer. If it gets too damp, it can develop mold spots quickly.
- Avocados and tomatoes should be kept at room temperature until ripe. Once ripe, move them to the fridge to extend their shelf life.
Plant Proteins (Tofu, Seitan, Tempeh): Avoid Freezer Burn and Maintain Flavor
Plant-based proteins can dry out or get freezer burn if not stored properly.
- Tofu: If you’re not using the entire block, submerge it in fresh water in an airtight container, changing the water daily. For longer storage, freeze tofu in its original packaging or press out excess water, cut into cubes, and freeze in an airtight bag.
- Tempeh: Wrap tightly in parchment paper and place in a sealed container before refrigerating. It lasts up to 10 days but can be frozen for 3 months without affecting texture.
- Seitan: Store in its cooking broth to keep it from drying out. If freezing, slice it into portions and wrap each slice in parchment before sealing in a freezer bag.
Grains and Pasta: Prevent Clumping or Drying Out
Ever pulled out leftover rice or pasta only to find it rock-hard and stuck together? That’s because grains release starch as they cool, which leads to clumping.
- Brown & white rice: Cool completely before storing and mix with a teaspoon of olive oil before refrigerating to prevent drying out.
- Quinoa, farro, and barley: Store in an airtight container with a damp paper towel on top to keep moisture levels balanced.
- Pasta: Toss with a small amount of olive oil before storing to prevent sticking. Store in a sealed container separate from sauces.
Sauces and Soups: Freezing and Reheating Techniques
Liquid-based foods can take up a lot of space in the fridge and often suffer from separation or ice crystals when frozen.
- Soups & stews: Freeze in individual portions using freezer-safe containers or silicone trays. Always leave a little space at the top for expansion.
- Tomato-based sauces: Store in glass jars or silicone bags; freezing in ice cube trays is great for portioning.
- Cream-based sauces: Don’t freeze well! If you must, blend before reheating to fix texture.
Meal Prep Storage Hacks to Extend Freshness
I’ve found these hacks to be very helpful in my kitchen:
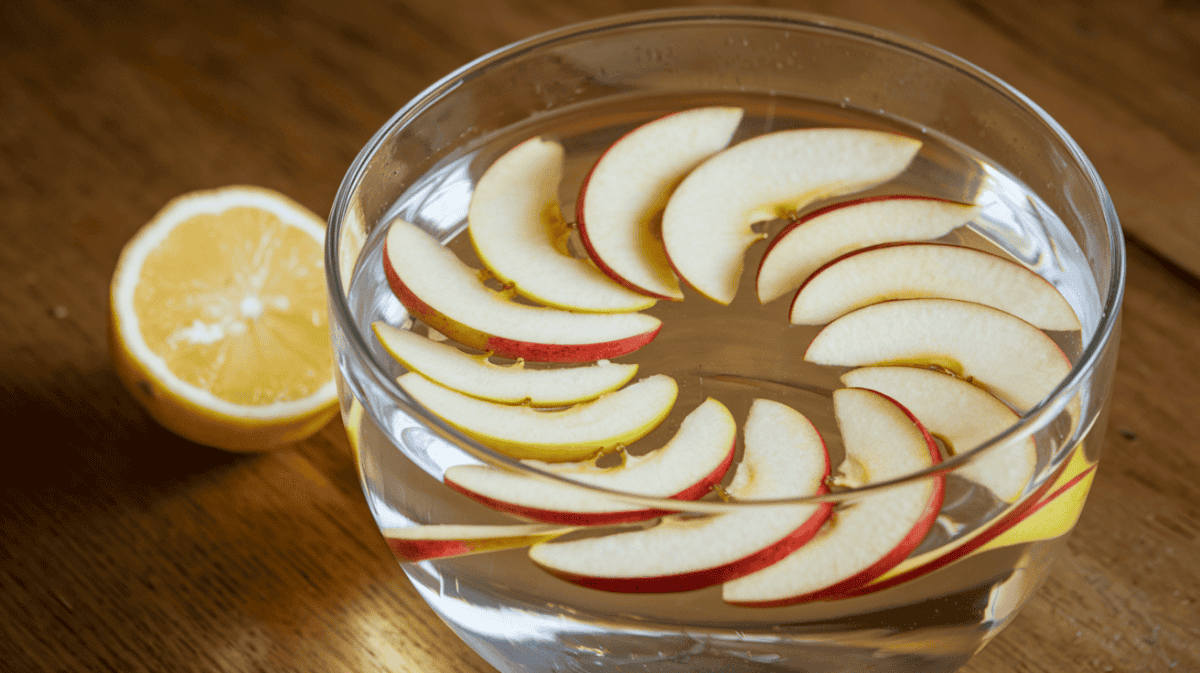
1. Adding a Squeeze of Lemon to Prevent Browning
Fruits like avocados, apples, and bananas brown quickly once cut. To slow oxidation:
- Squeeze lemon or lime juice over sliced fruit to keep it fresh longer. If I’m making apple slices to eat later, I’ll put them into a bowl of water and squeeze some lemon juice into the water and mix. Let them sit in the water for a few minutes before storing. It helps keep them looking and tasting good.
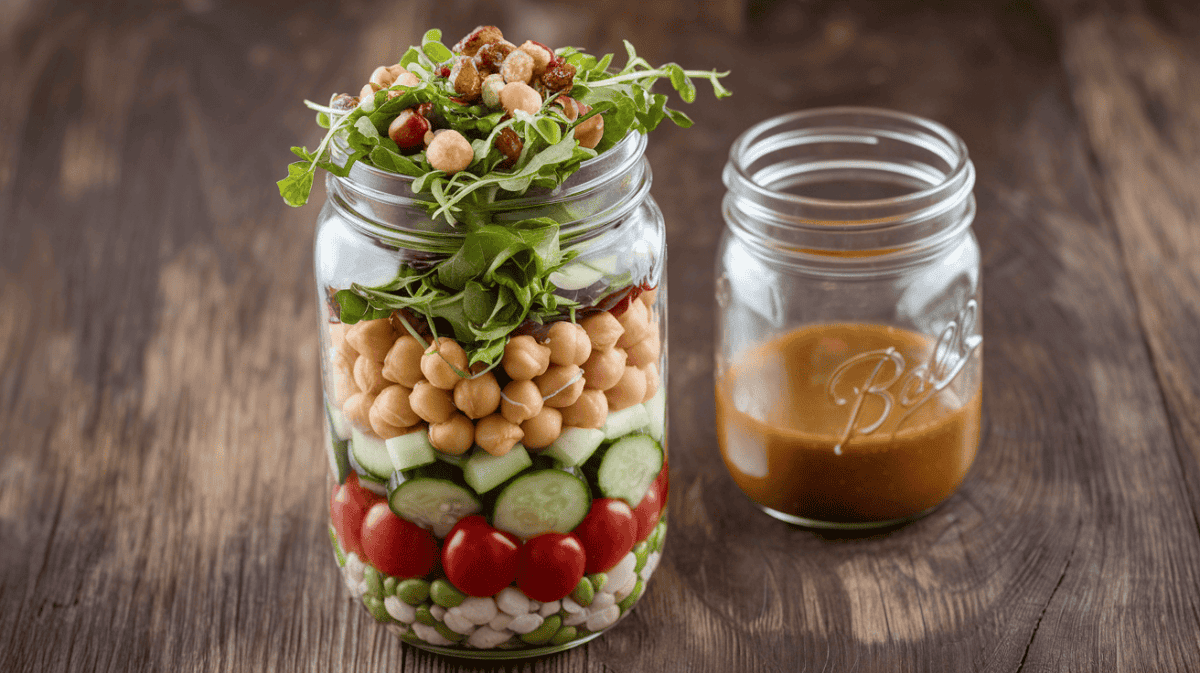
2. Layering Salads to Avoid Sogginess
Salads are delicious when fresh, but if stored incorrectly, they wilt fast. The trick? Layer strategically:
- Bottom layer: Hearty ingredients like cherry tomatoes, cucumbers, and beans.
- Middle layer: Proteins like chickpeas, tofu, or tempeh.
- Top layer: Delicate greens and crunchy toppings like nuts or croutons.
- Dressing: Store separately or in a tiny container inside the salad bowl.
3. Using Parchment or Wax Paper to Keep Items Separated
Ever had frozen veggie burgers or pancakes stick together? Parchment paper can prevent that:
- Place sheets of parchment between items before stacking.
- Works great for homemade veggie burgers, tortillas, or cookies.

Mistakes to Avoid in Meal Prep Storage
These mistakes have gotten in me in the past and I don’t want that to happen to you!
Overpacking Containers
Stuffing containers to the max limits airflow, leading to uneven cooling and quicker spoilage.
- Leave a small gap in the container for circulation.
- Avoid layering hot and cold foods together, as this can cause condensation.
Leaving Food Out Too Long Before Storing
Did you know bacteria grows rapidly between 41–140°F / 5–60°C? Food should be stored within 2 hours of cooking (or 1 hour if it’s hot in the kitchen). This can happen easier than you think when you batch cooking for awhile and time gets away from you!
- Use shallow containers to help food cool faster before refrigerating.
- Avoid putting steaming-hot food directly into the fridge, as it raises the temperature inside.
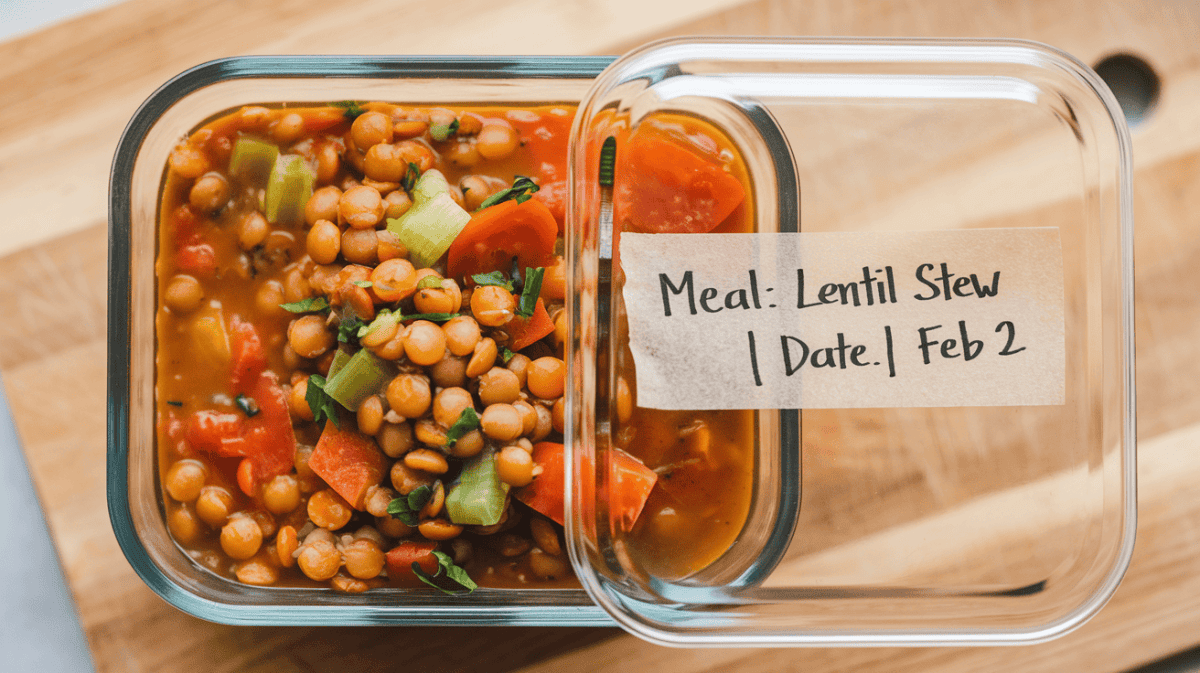
Not Labeling and Dating Your Meals
Ever played “guess what’s inside this container”? Labeling solves that.
- Write the name and date on storage containers using a dry-erase marker, stickers, or a simple piece of masking tape.
- FIFO Rule: “First In, First Out” – eat the oldest meals first.
Ignoring Expiration Dates for Ingredients
If a product was old before cooking, it won’t taste any better mixed with other ingredients.
- Always check sell-by dates before prepping.
- Use the sniff test—if it smells off, toss it.
Keep Your Meals Fresh and Your Week Stress-Free
Meal prepping doesn’t have to be a chore. It’s all about working smarter, not harder. By using the right storage containers, portioning meals thoughtfully, and paying attention to temperature control, you can ensure your meals stay fresh, delicious, and ready to fuel your week.
Remember, small tweaks like layering salads properly, flash-freezing ingredients, and investing in airtight containers can make all the difference. And let’s not forget how much money and food waste you’ll save by keeping those meals in top condition!
So go ahead—try out these tips, experiment with what works best for you, and enjoy the rewards of stress-free, fresh, and flavorful meal prep. Your future self (and your taste buds) will thank you!